Orc Incremental Formations
A controlled method for reading the verified draft, arrangement, and automated-combat loop without inventing board geometry, targeting math, or slot rules.
- Published
- Updated
- Last checked
Quick facts
- Verified loop
- Draft, arrange, then observe automated combat.
- Unknown structure
- Exact version 1.0 slots, lanes, and target rules are unpublished.
- Test unit
- Change one position or one role at a time.
- Comparison rule
- Keep build, encounter, purchases, and army fixed.
- Historical limit
- Demo v0.08 describes an older balance boundary.
What formation evidence actually says
The official Steam description says players draft units and Totems, strategically arrange an army, and watch automated combat unfold. Those statements establish a formation decision inside the main loop. They do not reveal a complete grid, a fixed number of slots, an aggro calculation, or a priority list.
Historical Demo v0.08 adds context about Battlefront drafting and notes that some upgrades and rarities were reserved for the final game. It is useful as a dated record, not as proof of version 1.0 balance or layout.
This guide works within that boundary. It explains how to diagnose an arrangement from visible outcomes. It does not pretend to know the hidden rules that produce them.
Name the failure before moving a unit
Watch the same encounter and write the first repeatable failure. A short label is enough:
- front role removed before other allies act;
- damage cannot reach the blocking target;
- a useful action occurs after the battle is already lost;
- the army survives but does not finish the encounter;
- a pull, area effect, or siege action reaches an unexpected target.
The label determines the next question. If an exposed role falls first, test exposure. If the blocking target remains untouched, test access. If the group survives without finishing, test damage delivery rather than adding more survival by habit.
The unit roster gives the four confirmed version 1.0 role descriptions. Use those descriptions to choose a question, not to predict an unpublished outcome.
Run a one-change comparison
Record a baseline before changing the arrangement. Include the build, encounter, army, relevant purchases, positions, first defeated ally, important target, and result. Repeat when the battle is close enough for timing variation to matter.
Then change one thing:
- Move one unit while keeping the army unchanged.
- Replace one unit while preserving positions as closely as the interface permits.
- Change one progression choice while keeping the army and arrangement fixed.
- Replay the same encounter and record the same measures.
If several things change, you can still record the run, but it cannot isolate a formation cause. Call it a new baseline rather than a comparison.
Diagnose exposure, access, and timing
Exposure
Exposure asks which ally receives pressure before performing its role. Record the first incoming events and the first ally lost. A move that changes the sequence may matter, but repeat it before stating a pattern.
Access
Access asks whether the relevant ally can affect the blocking target. Record which enemy is reached and when. Do not infer a hidden target rule from one animation. Warg Raider's announced hook makes target access a clear research question, not a solved formula.
Timing
Timing asks whether an action occurs early enough to change the result. Compare visible event order rather than guessing a cooldown. If an interface value later provides timing, record that exact build with it.
Outcome
Choose a measure that the game shows reliably: encounter completed, first ally lost, target reached, or a visible sequence. Use the same measure on both sides of the comparison.
Use each confirmed role carefully
The four official roles create different formation questions:
| Unit | Formation question |
|---|---|
| Assassin reference | Does a position change exposure, target access, or the visible stealth sequence? |
| Troll reference | Which incoming events reach the tank, and what visible response follows? |
| Warg Raider | Which target is hooked, where does it move, and who receives the area attack? |
| Juggernaut reference | Which target produces a siege interaction, and what does the explosive cue affect? |
None of these questions establishes a required slot. Their value is that another player can repeat them.
Avoid the screenshot trap
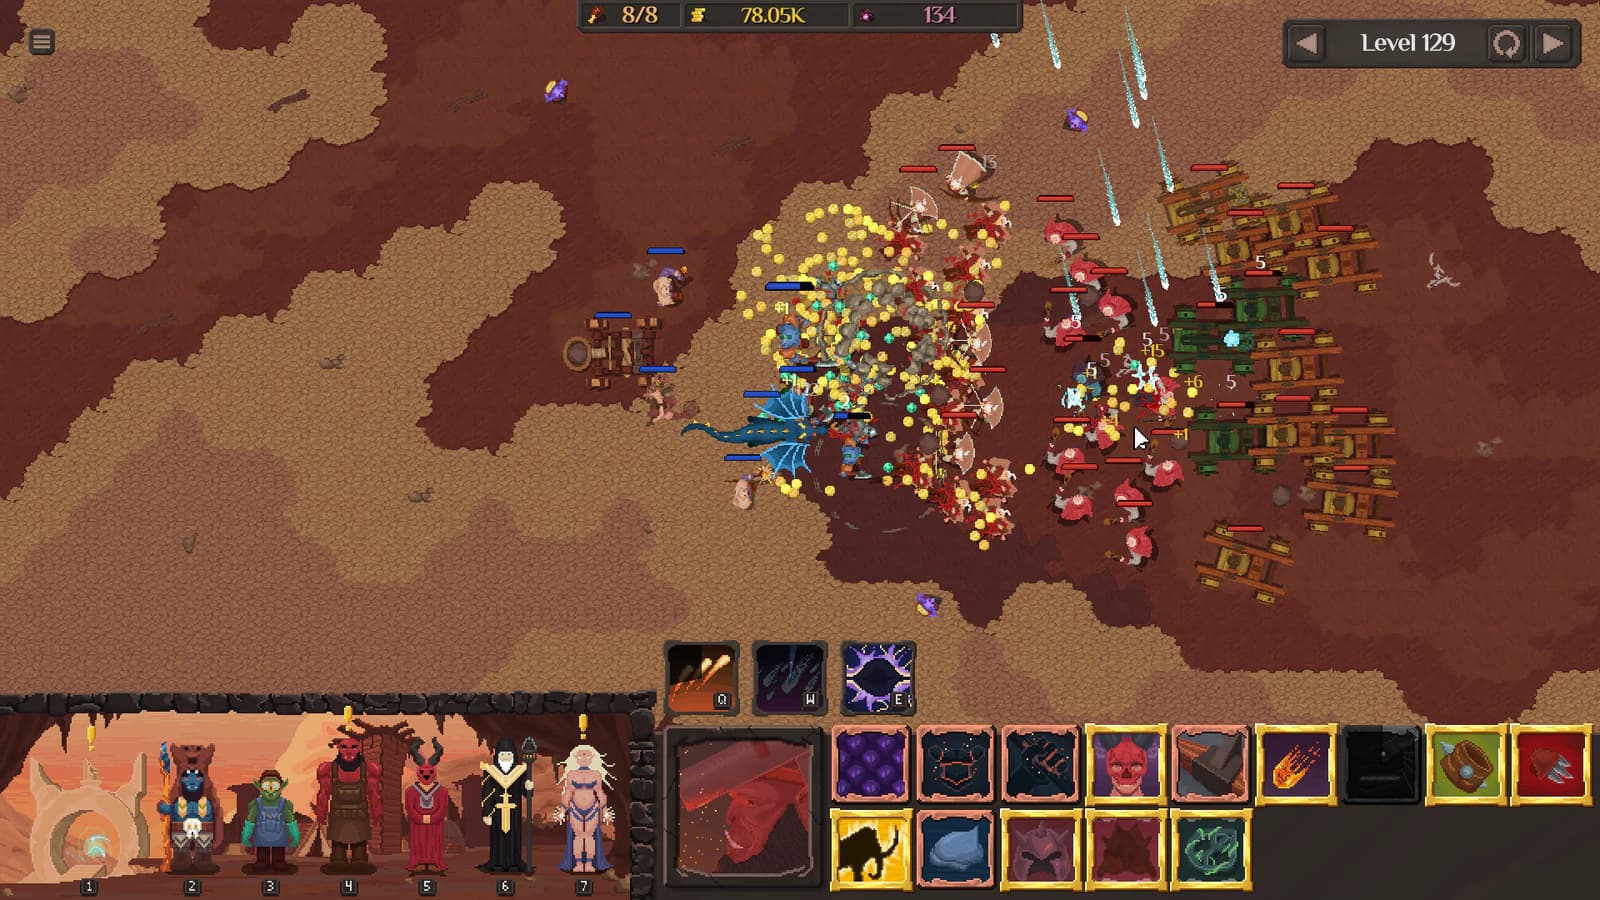
Official promotional battle images show armies arranged on battlefields. They verify that the image exists and illustrates combat. A still frame cannot establish the rules that produced the arrangement, the identity of every figure, or the build's final balance.
Do not count apparent spaces and publish them as version 1.0 slots. Do not treat left-to-right composition as target priority. Do not identify an announced unit solely because a figure looks compatible with its role.
Use screenshots as part of a field record only when they include build and encounter context. Pair them with written before-and-after conditions.
Compare candidate formations fairly
The best-formations evidence page supplies a recording template for candidate arrangements. A fair comparison uses the same build, encounter, army, progression state, and number of attempts. It changes one arrangement detail and keeps the measurement stable.
When one candidate performs better, state the boundary: this build, this encounter, this army, this progression state. Do not convert a local result into a universal formation.
If the goal is a larger army plan rather than a position question, use the build worksheet. If the uncertainty begins at the offer screen, use the cards guide.
Recheck after a patch
Formation advice is patch-sensitive because unit behavior, encounters, and progression can change. Preserve the original build label with every result. After a relevant patch, repeat the baseline before editing a recommendation.
A failed reproduction does not prove the old note was dishonest. It may show a changed build, different encounter, or missing condition. Keep the old observation historical and describe the new case separately.
A compact formation record
Use this structure:
| Field | What to write |
|---|---|
| Build | Exact version label |
| Encounter | Reproducible battle description |
| Army | Every ally used |
| Arrangement | Position record with orientation clear |
| Wall | First repeatable failure |
| Change | One moved or replaced role |
| Result | Same visible measure as baseline |
| Repetitions | Comparable attempt count |
| Limits | Conditions not separated yet |
The record is deliberately plain. It is more useful than a polished diagram whose conditions are missing.
What remains unverified
Complete version 1.0 board geometry, slot count, lane rules, target priority, pathing, timing, and role-specific placement rules were not published in the checked sources. This guide does not assign them.
After release, add only facts that can be tied to the game interface, an official statement, or a repeatable named-build test. Until then, the method remains the answer: diagnose, isolate, observe, repeat.
Official sourceFrequently asked questions
- Is the version 1.0 board geometry published?
- No. Official material verifies drafting, arrangement, and automated combat, but the checked sources do not state a complete version 1.0 slot map or targeting formula.
- How can I diagnose a formation failure?
- Replay the same encounter and change one position or one army choice. Record whether survival, target access, or the point of failure changed, then repeat the comparison.
- Can Demo v0.08 define current formation rules?
- No. Demo v0.08 is a historical record about drafting and final-game boundaries. It can explain earlier context, but version 1.0 behavior needs a current labeled observation.
Source ledger
- Orc Incremental official Steam store data
steam-store ·
- Demo Update v0.08
steam-announcement ·